Pouncing parchment
In the time ahead, I want to pay attention to parchment. The reason is that I get quite a few questions […]
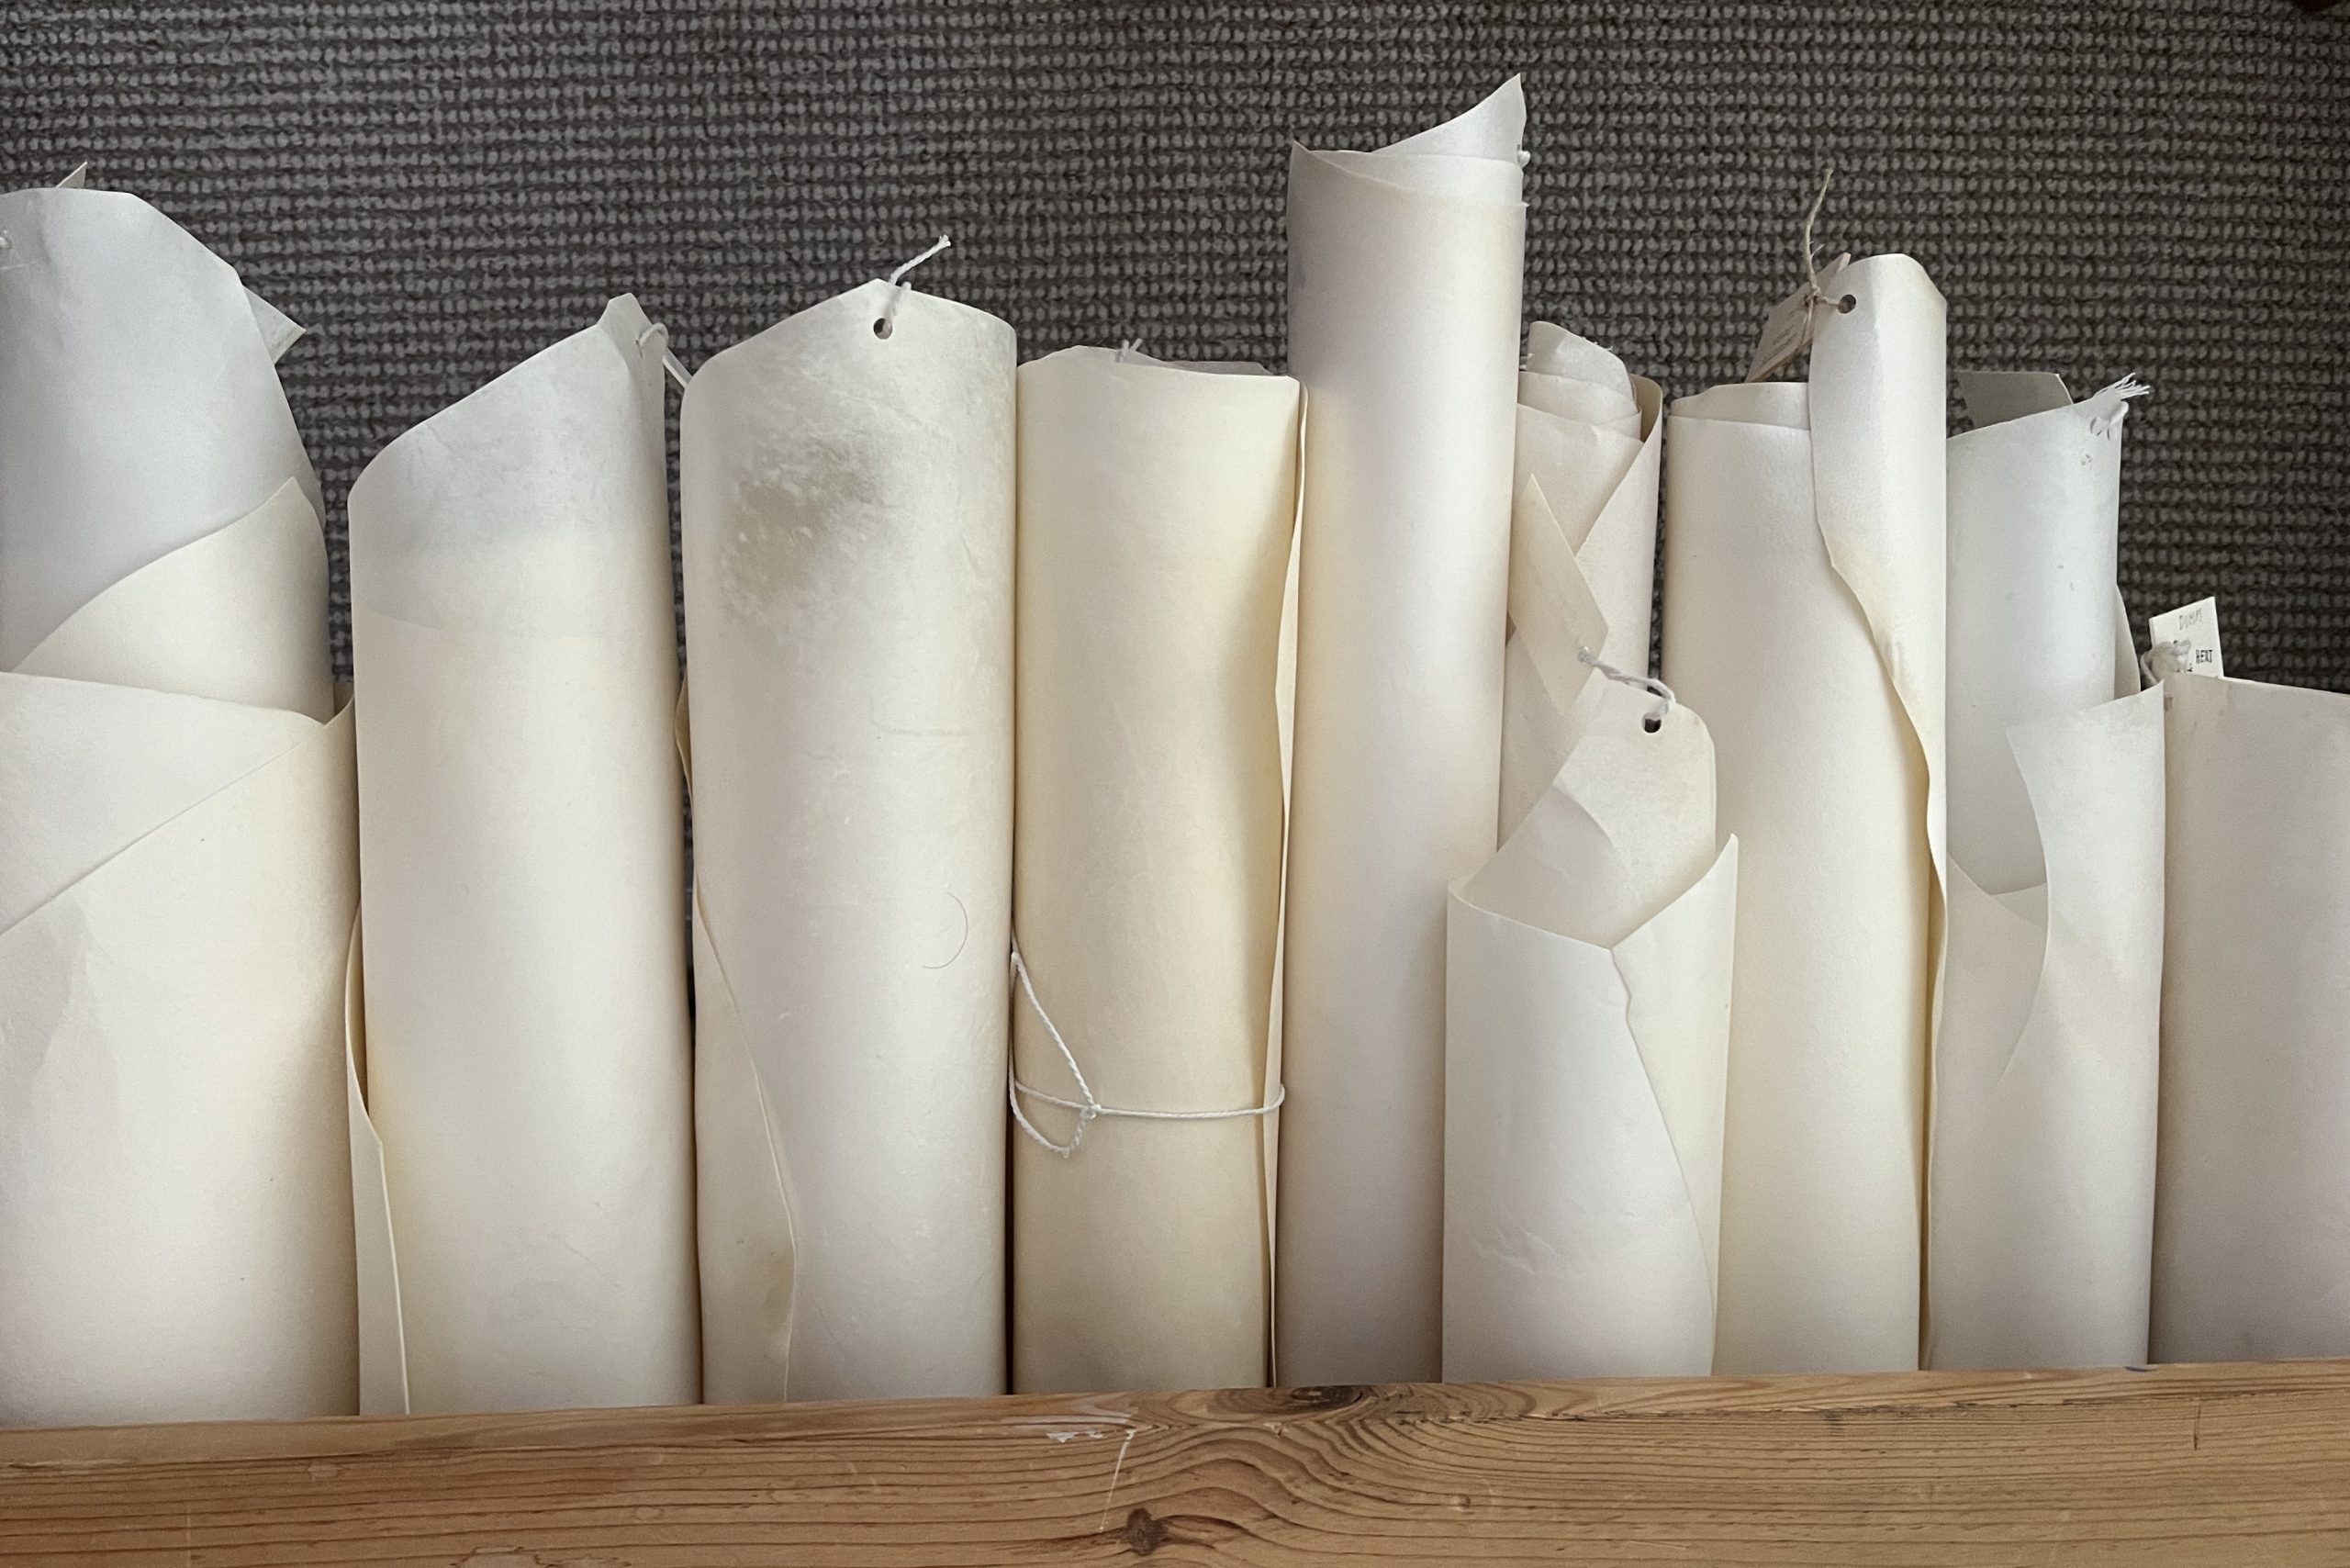
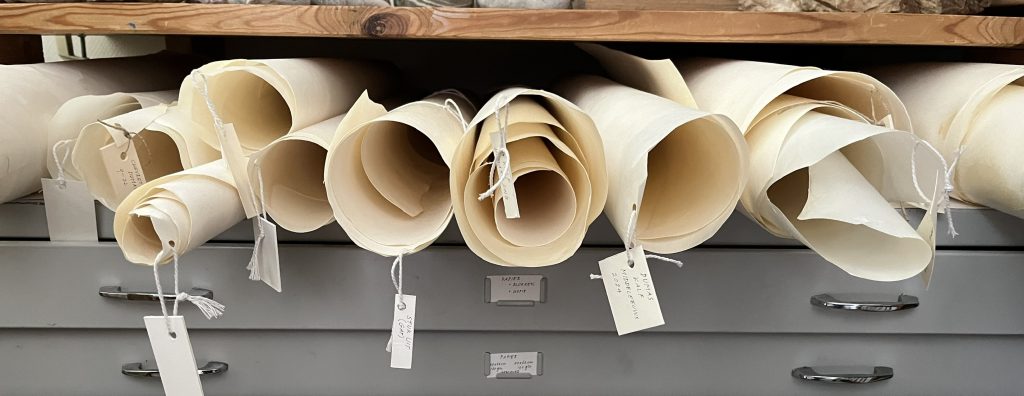
In the time ahead, I want to pay attention to parchment. The reason is that I get quite a few questions such as : how to work parchment, what kind is best to paint on and much more. I thought it would be good to pay attention to this. I will start with the more practical part of the story ‘ how to edit parchment to write and paint on it ?’ Later, I want to say more about parchment in general.
Pouncing parchment
(For painting and writing).
English: Pouncing, French: Ponçage.
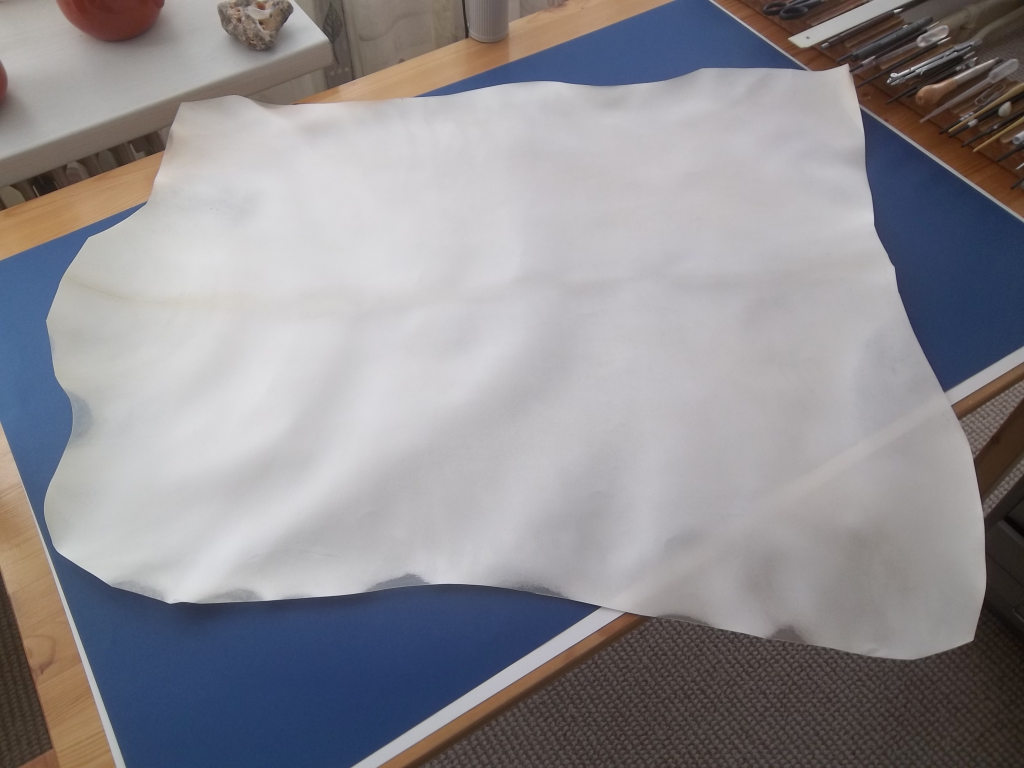
Anyone who wants to use a sheet of parchment to write or paint on it will first have to edit it. If you have bought a sheet of parchment, you soon notice that, especially on the hair side, the parchment is somewhat ‘horny’ and hard. This is not a pleasant surface to work on. It is therefore important to create a homogeneous, velvety layer on which to work prior to painting and writing. This velvety layer provides better adhesion for both ink and paint. But how do we do that?
Basically, we then have to do two things:
- Sanding, creating the velvety layer.
- Degreasing, removing the last remnants of remaining skin grease as much as possible.
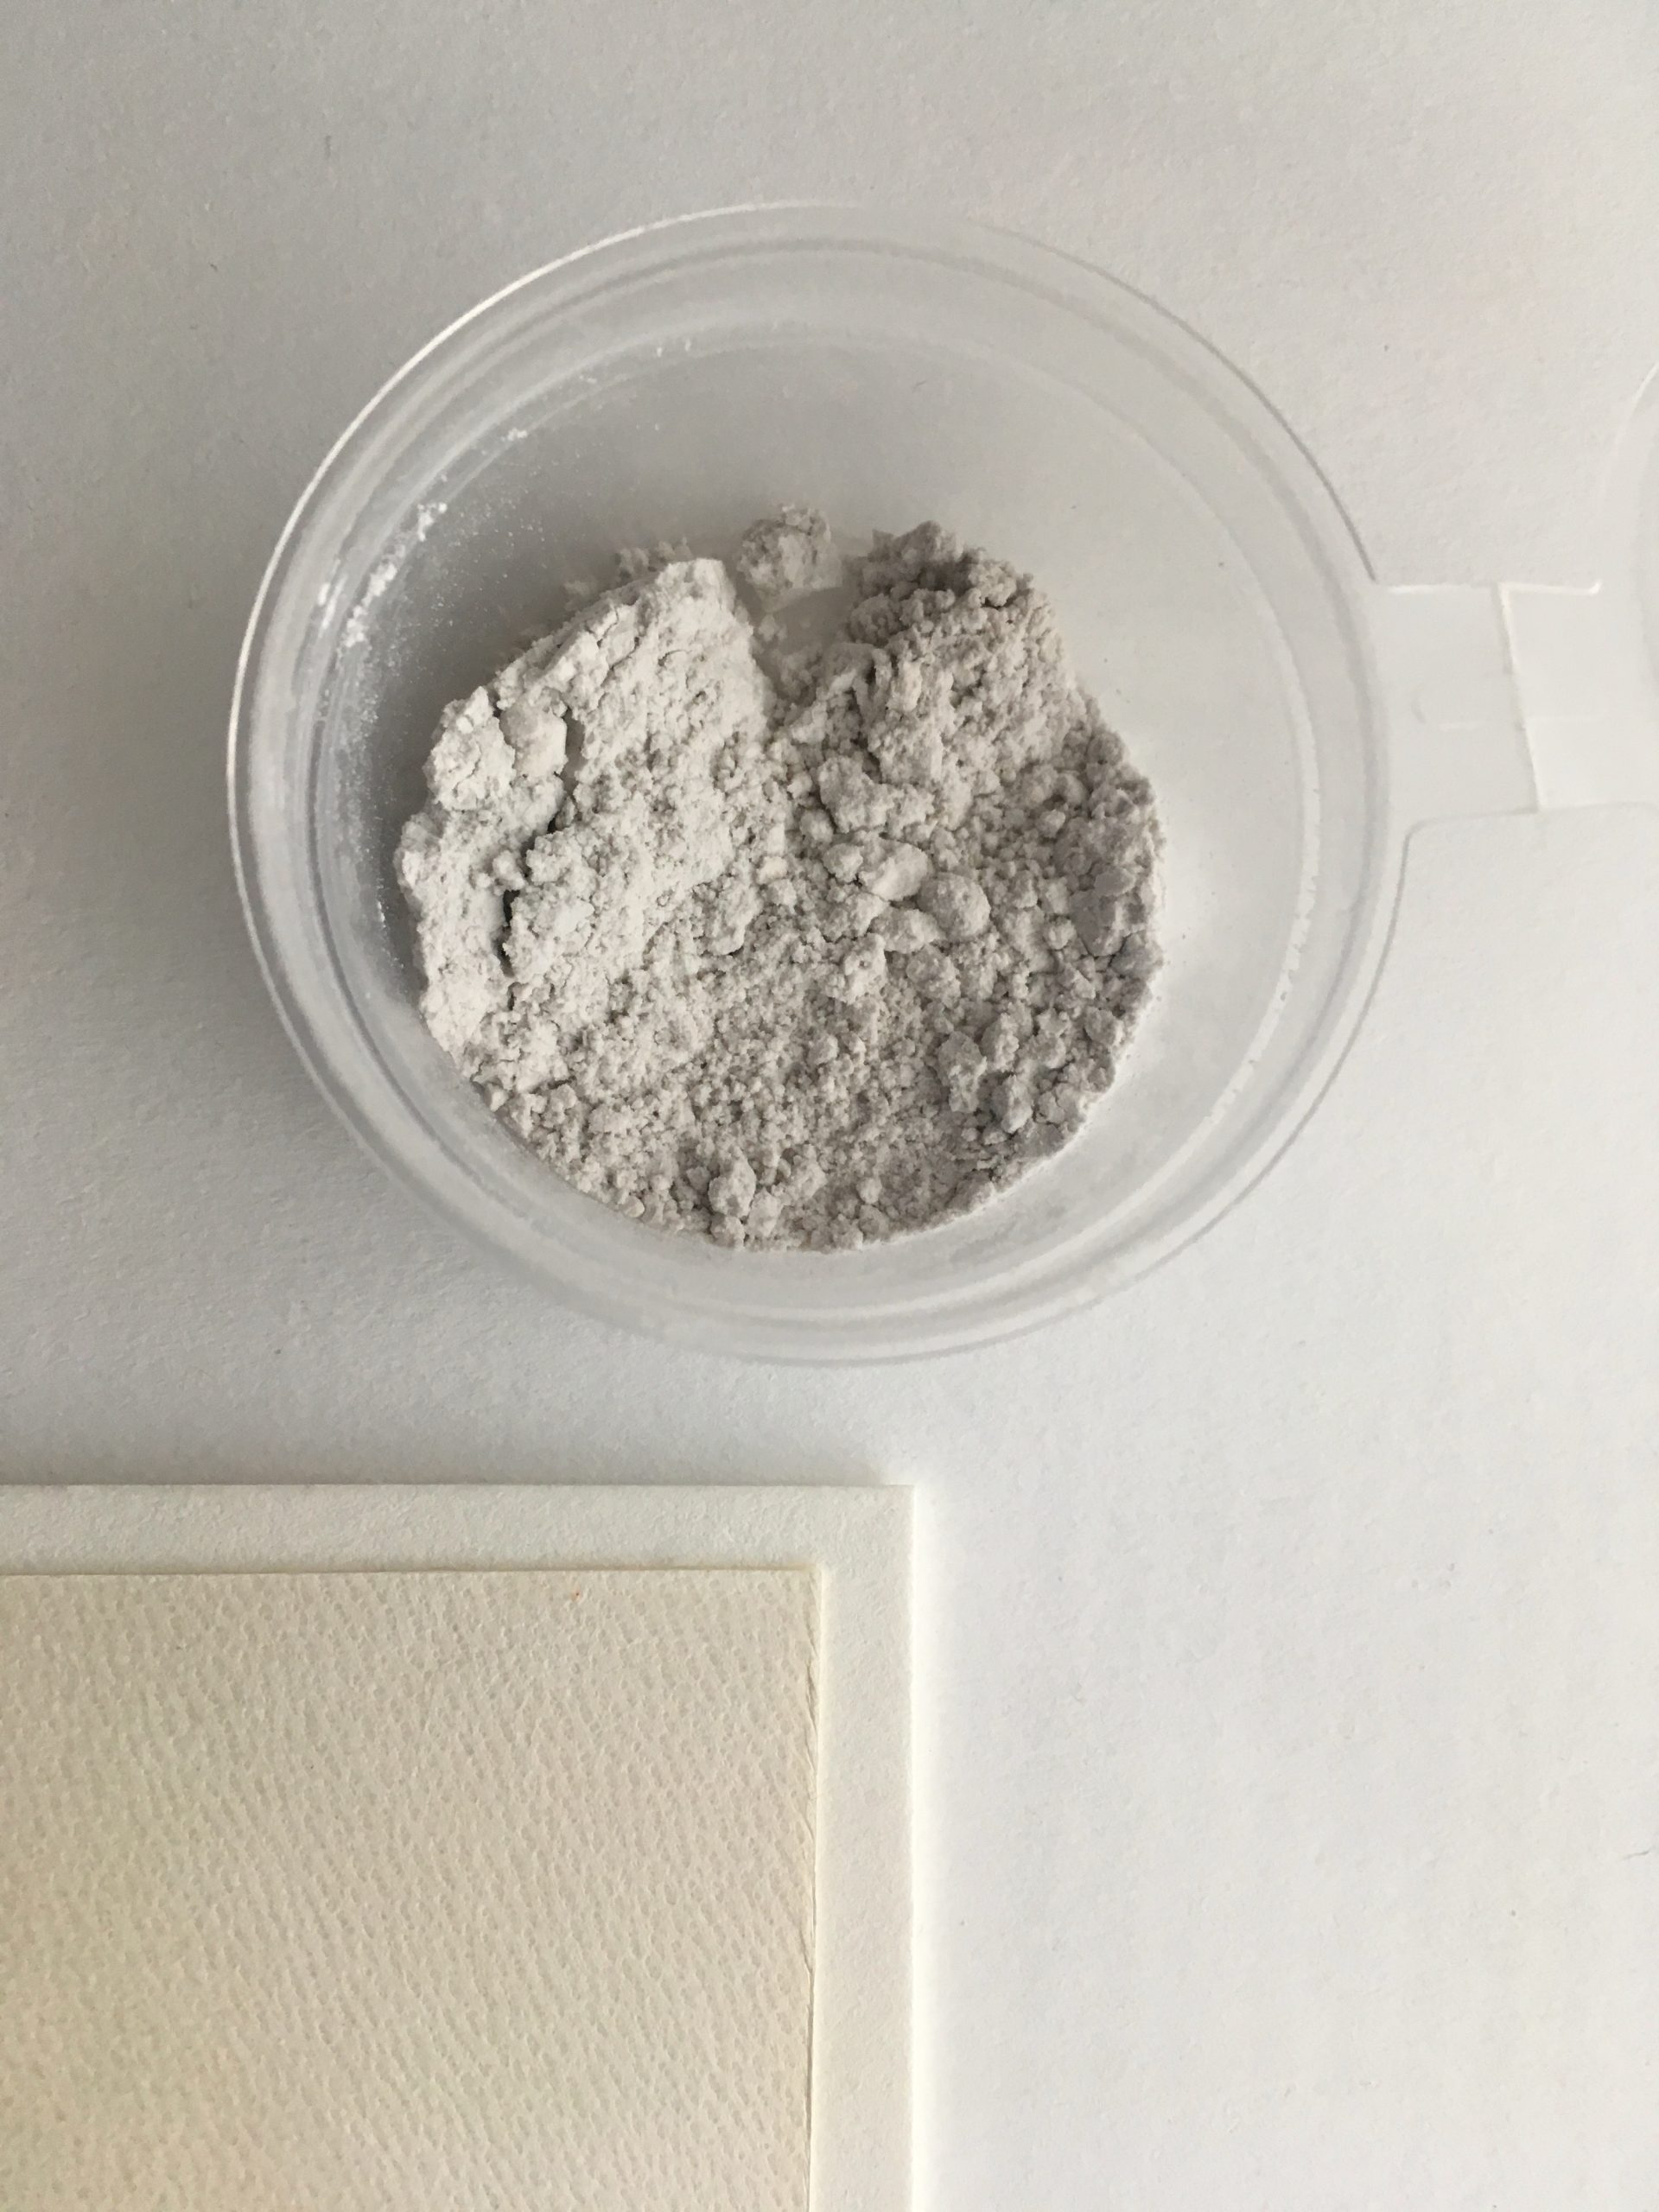
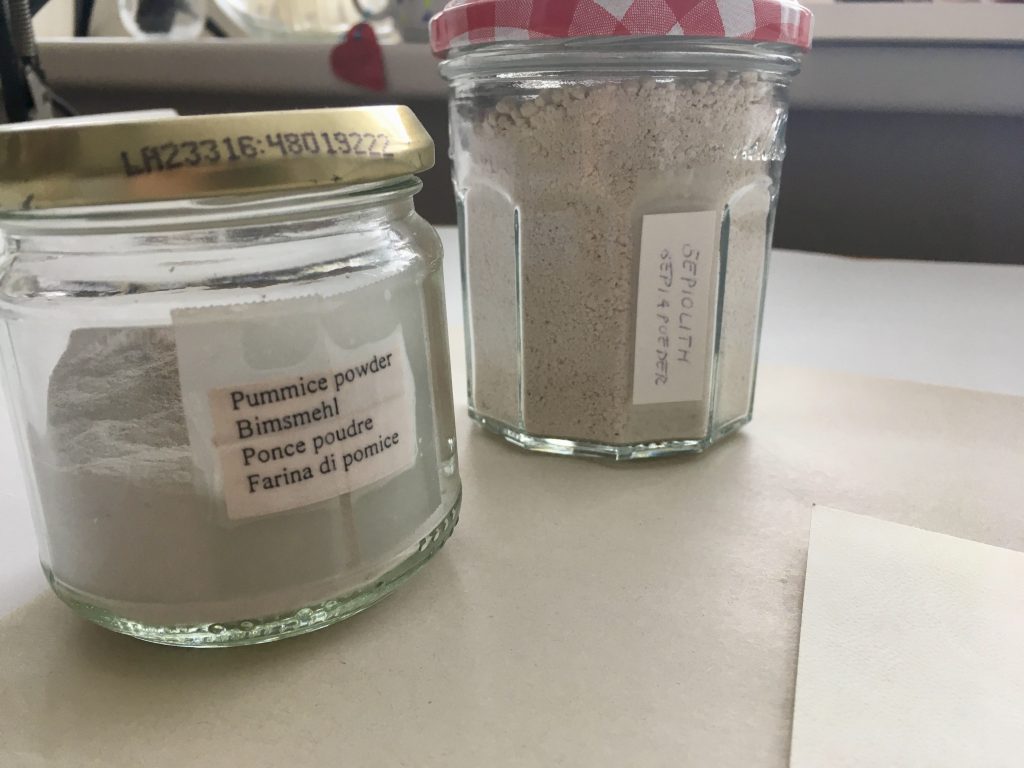
To sand and degrease the sheet of parchment, we use a mixture consisting of: pumice powder and sepia powder.
Pumice stone is of volcanic origin and can be ground very finely, making it an excellent abrasive. I personally use pumice, which is also used by dentists, a very fine quality.
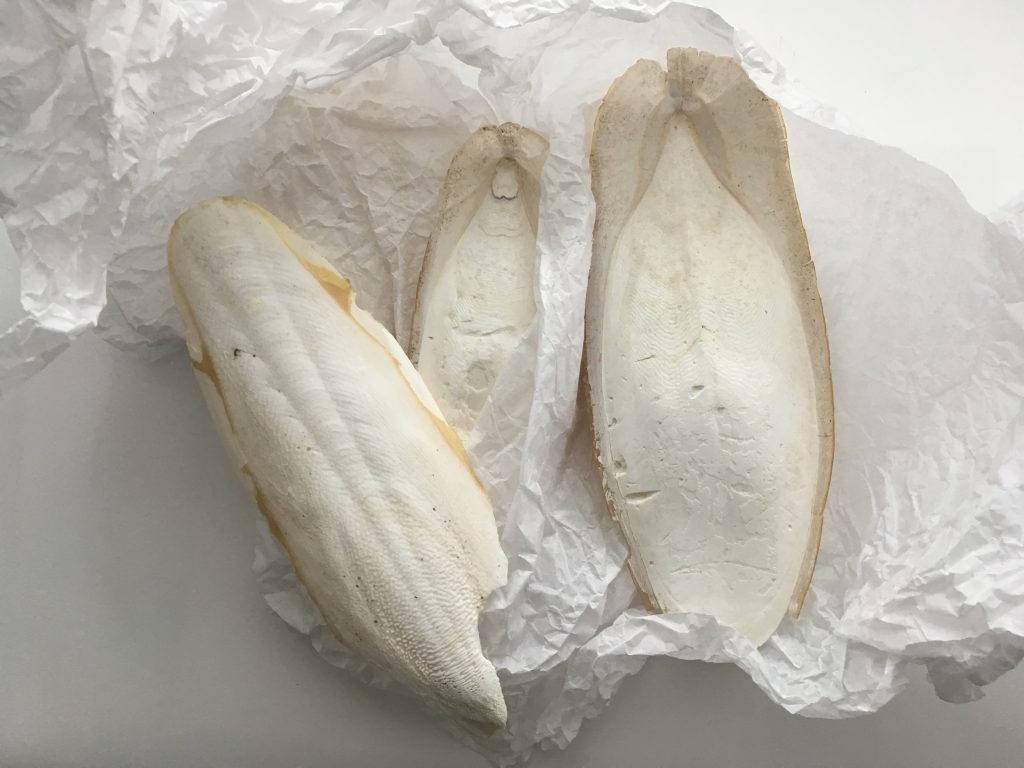
Sepia powder comes from the shell of the squid (lime) and is available in the better specialist painters’ materials shops. Beware of the sepia powder from the pet shop that also contains the hard parts of the sepia shell and makes terrible scratches
Recipe for the abrasive powder to work the parchment
We mix:
4 parts pumice powder
1-part sepia powder
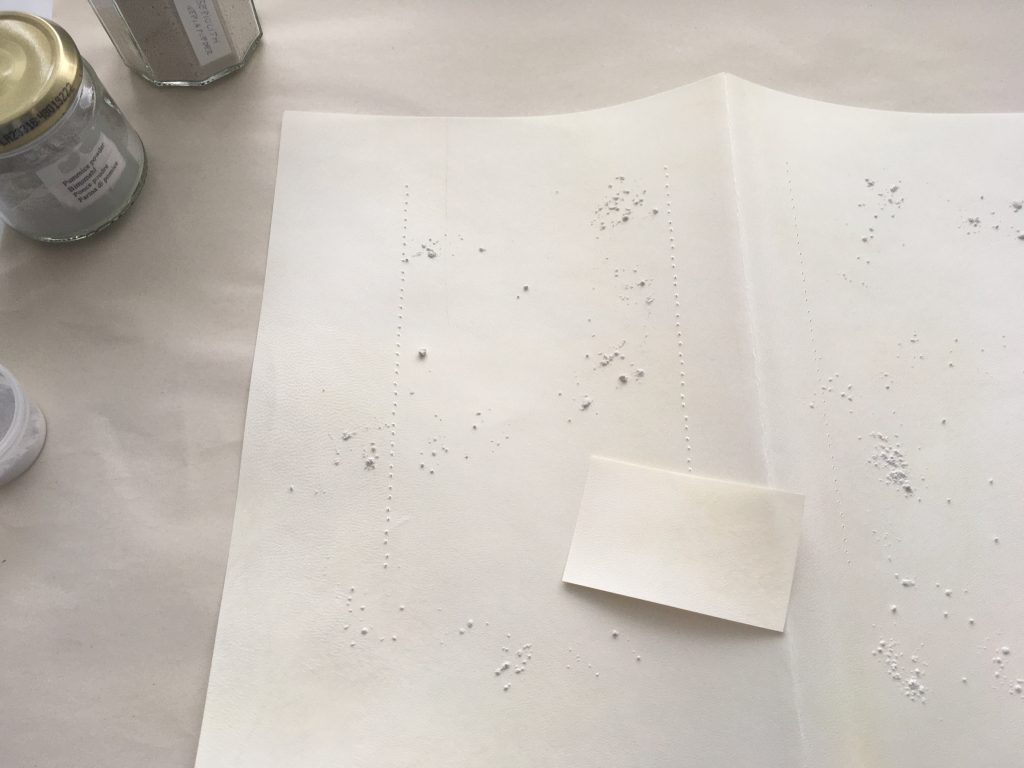
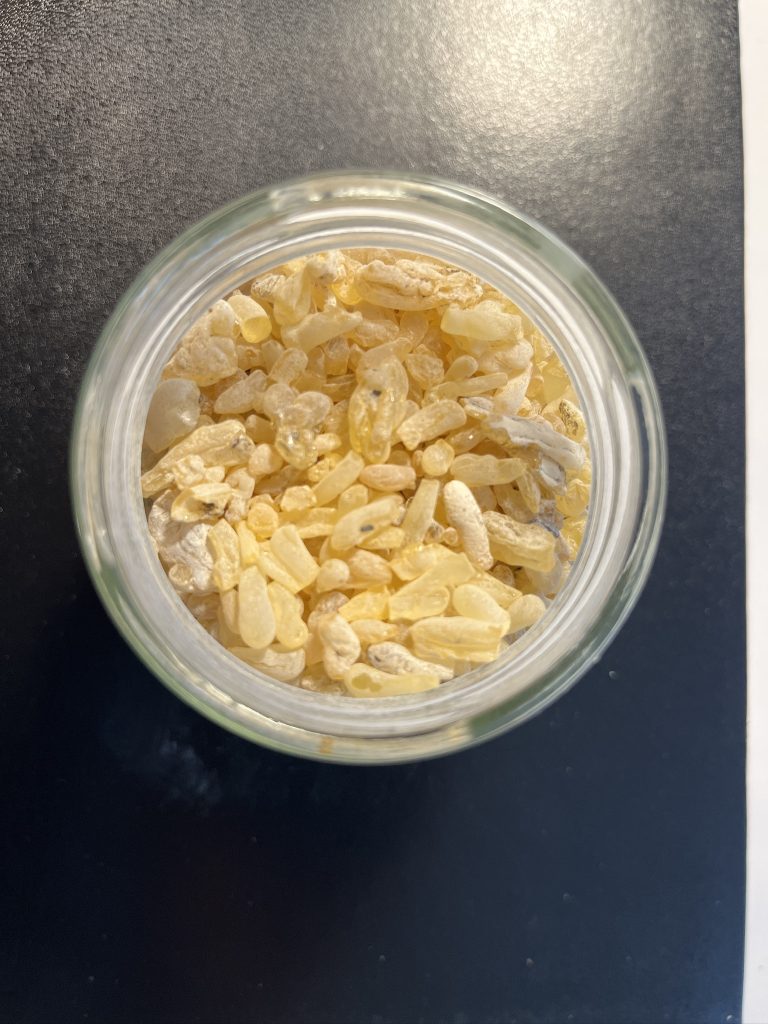
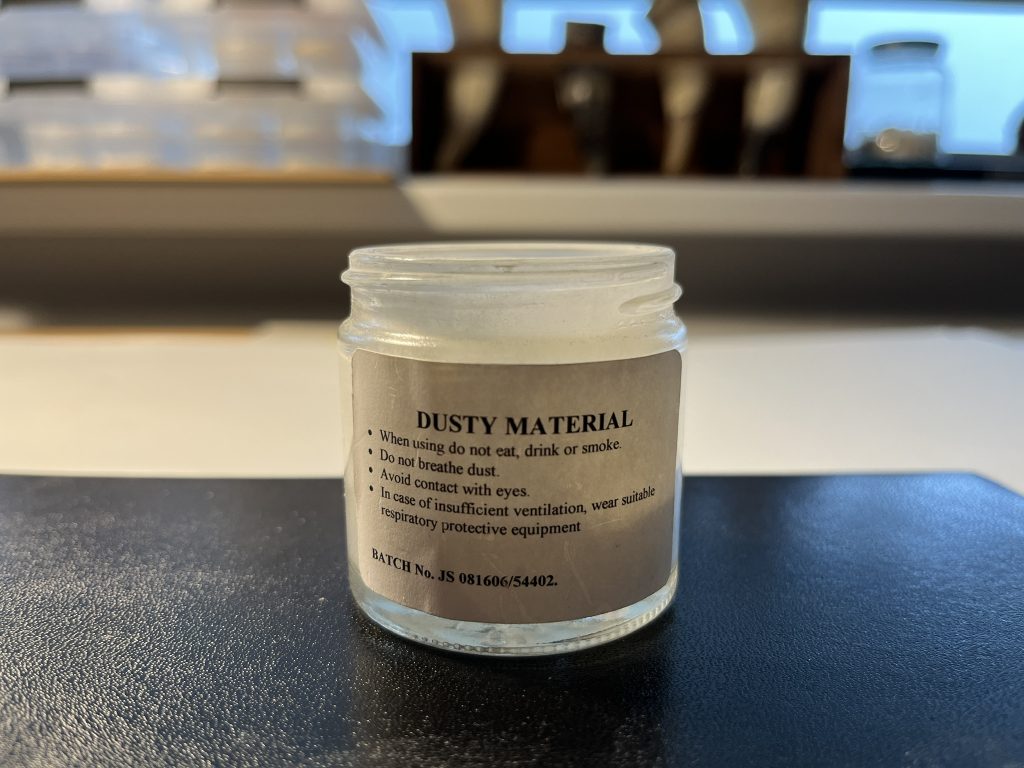
Work everything together well and put it in a glass jar. We take some of it on a palette knife and sprinkle it over the sheet of parchment to be sanded. How much you need is trial-and-error and depends on the size and quality of the parchment. A thick horny layer and greasy parchment needs more powder than a small sheet of a young goat.
Now we take a piece of parchment about 8 x 8 cm. and start sanding with this piece. We make circular movements all over the sheet, first softly then a little more vigorously. After a while, feel how the parchment feels. After some time sanding, it will have changed from a hard to velvety layer. This is mainly due to the use of the pumice stone, furthermore, the sepia powder will have removed the remaining grease.
When the parchment feels velvety to the touch, we stop and use a soft bristle brush to wipe the parchment clean.
For painting on parchment, this is sufficient but if you want to write, you should actually start using sandarac.
Why sandarac (Sandarac or sandarach, Gum Sandarac)?
If you were to take a good look at the sanded parchment, for example with a magnifier (*), you would see all sorts of little scuffs and open fibres. It then looks like you are writing on paper that has not been glued properly. This is very annoying for writing because the ink now flows into the fibres and you don’t get nice hairlines on the letters you write, and sandarac prevents this. The powder that you apply fills the gaps and holes created by sanding, allowing you to write tight letters. Again, do not use too much or the layer will become ‘water-repellent’ and the ink will not adhere as well.

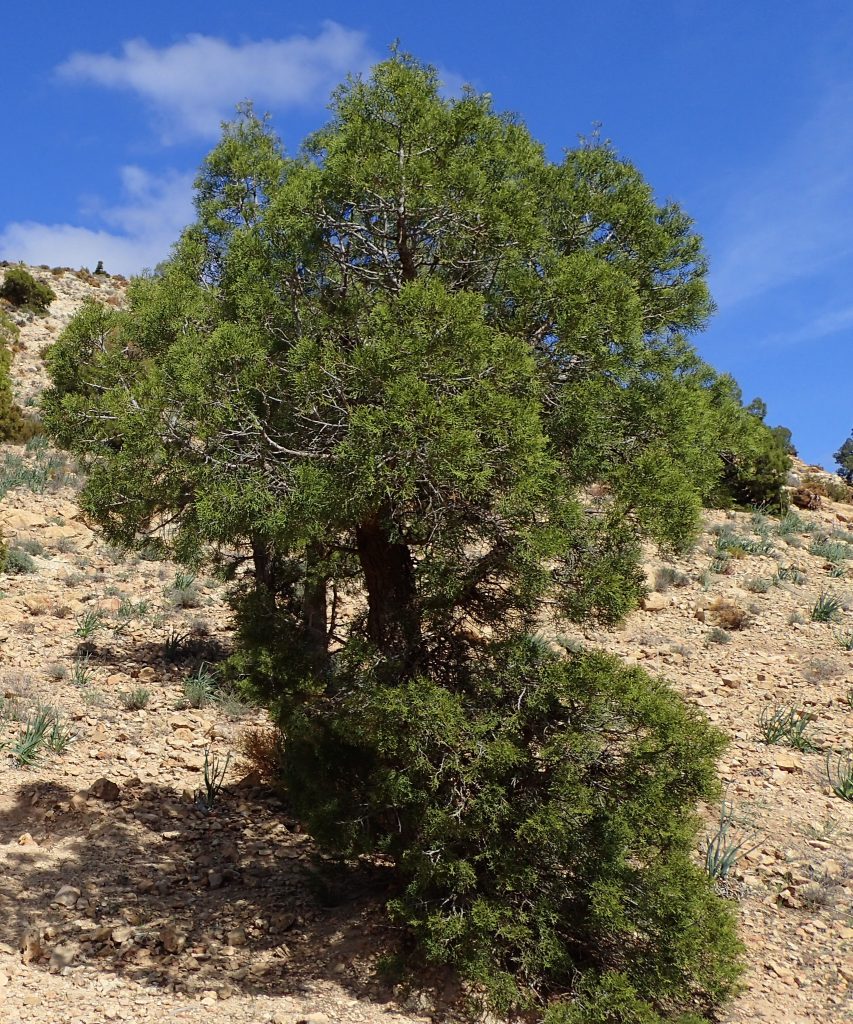
- Sandarac is a resin obtained from the small cypress-like tree Tetraclinis articulata. The tree is native to northwest Africa and is remarkably present in the southern part of Morocco from the Atlas Mountains.
How do we apply sandarac powder to the parchment?
Option 1.
It is possible to mix the sandarac powder through the mixture of pumice and sepia powder. Three in one. The composition then becomes as follows:
2 parts sepia powder
4 parts pumice stone powder
1 part sandarac powder
Option 2
Personally, I prefer to do the processing a little differently and apply sandarac only where writing is done and not where painting is done.
To be clear, first I sand the whole sheet with pumice and sepia powder. Only then do I process only those places where writing is done with sandarac powder.
For local application of sandarac or application after sanding, we use a tampon.
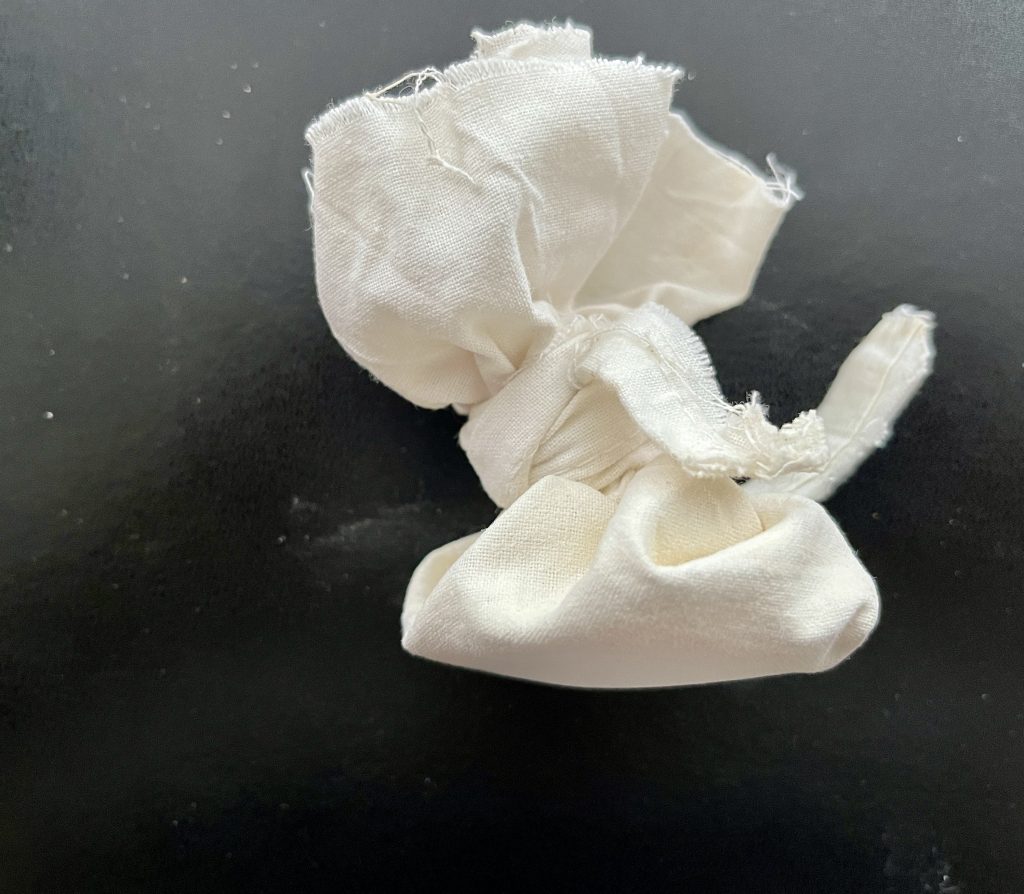
Tampon
How do you make and use it?
I make the tampon from a piece of linen that I fill with ground sandarac powder. Then put a string around it. When applying it, I first dip over the surface of the skin and then rub the entire surface with the bottom of the tampon. Sandarac then gets everywhere, and writing becomes really enjoyable. Afterwards, brush off for a while. The velvety vellum and tight letters give the ultimate writing experience. Especially with a quill, such a surface writes very pleasantly.
To sum up:
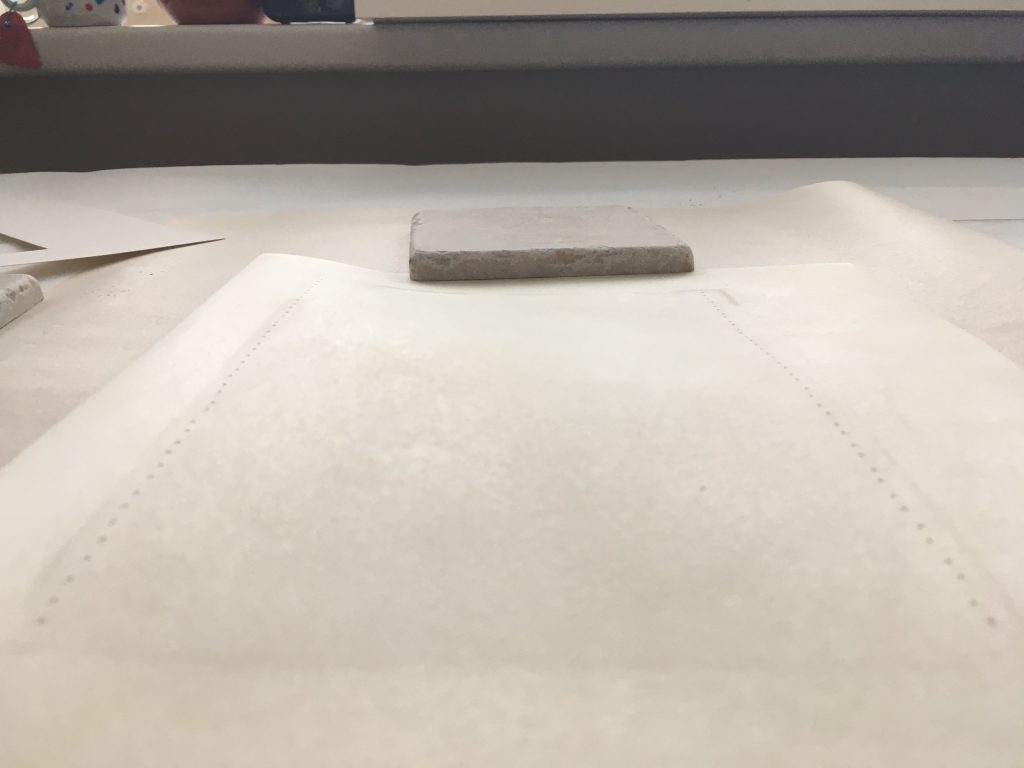
For writing with ink, applying sandarac is good but for painting, on the other hand, it may not be so good.For working according to option 2, I then make a frame, a piece of paper with an opening as big as the part where the writing will be. There I apply the sandarac very thinly with the tampon. That way, sandarac only reaches the places where you are going to write and the margins stay ‘clean’. This is especially handy if you are going to decorate the margins.

The whole process will depend on the quality of your parchment and as you do, you will find that each skin is different and needs a very specific processing. Again, you build up the knowledge by doing.
You can also follow the whole process and much more via a YouTube film on my channel. Only in Dutch.