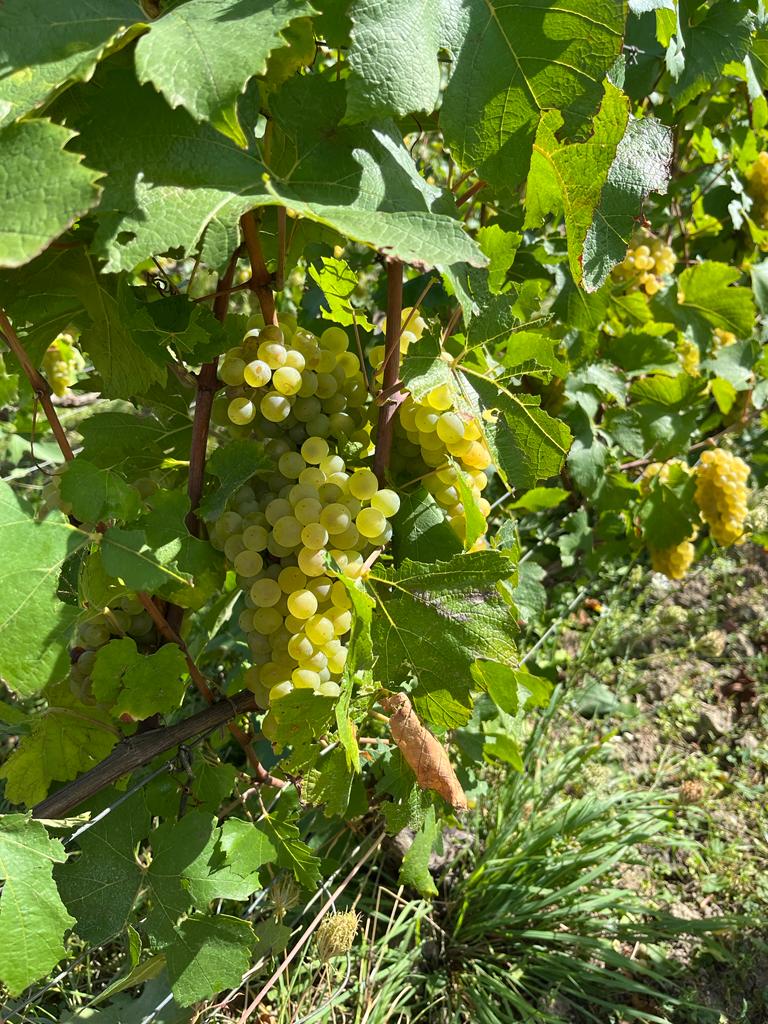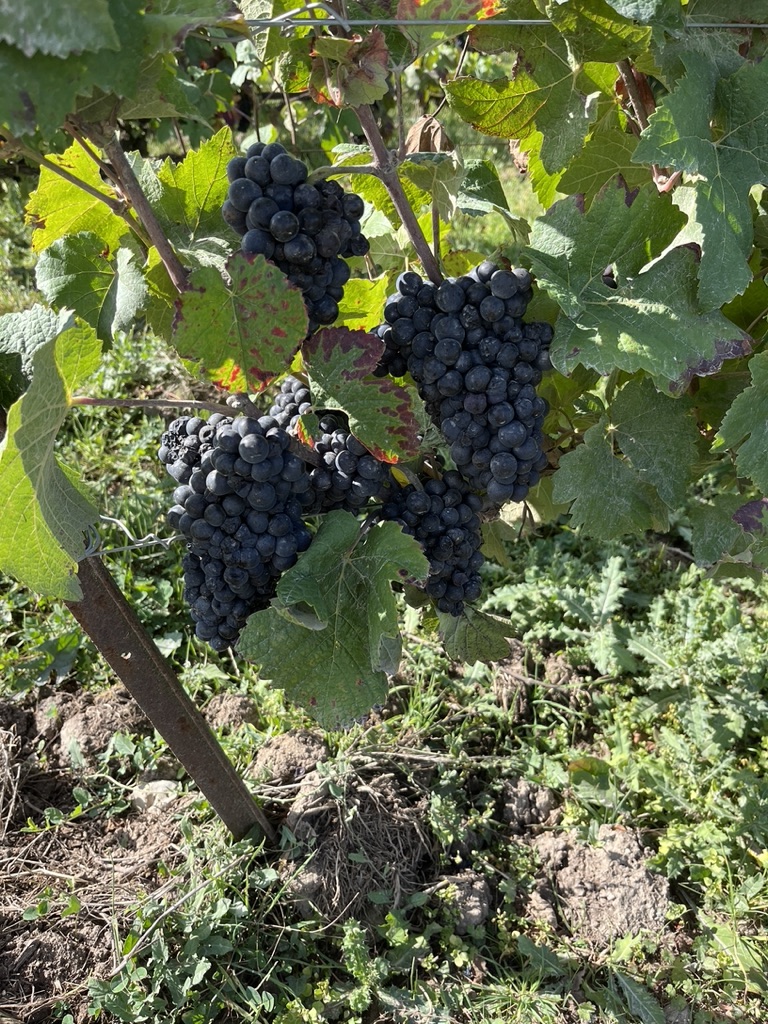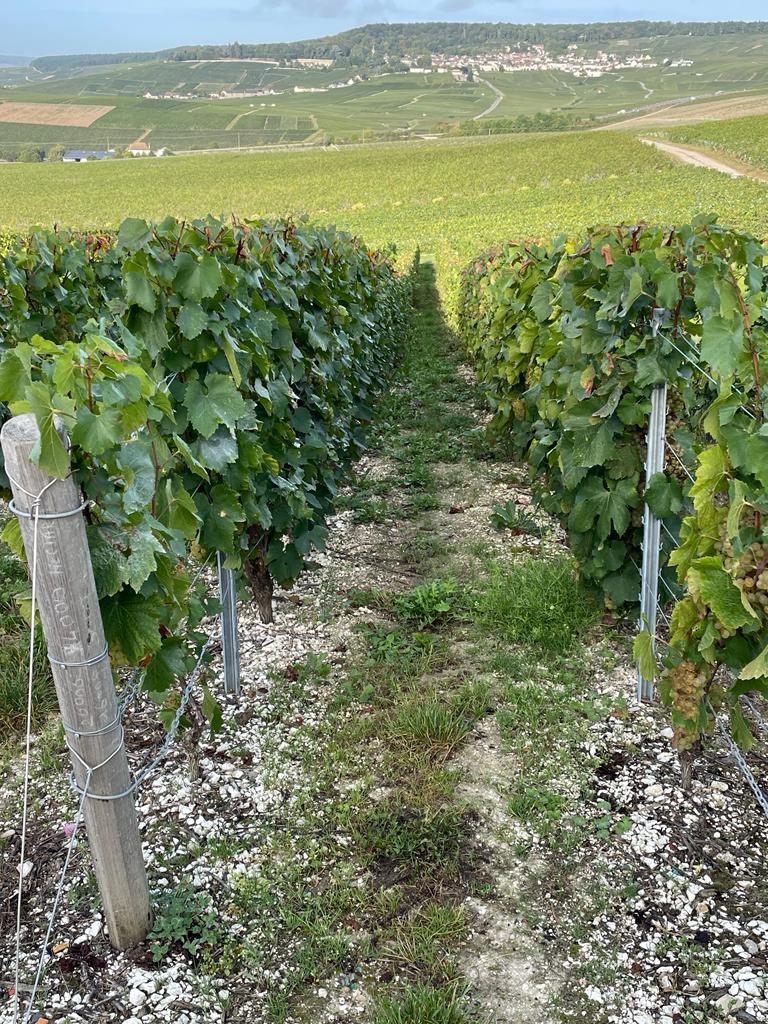
Vineyards in the Champagne region, France.
In an earlier post on Burgundian black, I wrote: “Besides ink, several other blacks were used in manuscripts such as: Ivory black, Lamp black, Vine black, Cherry seed black, Grape seed black, Atramentum, Peach seed black and Sepia. In the following posts, I want to describe some blacks I own and show some samples”.
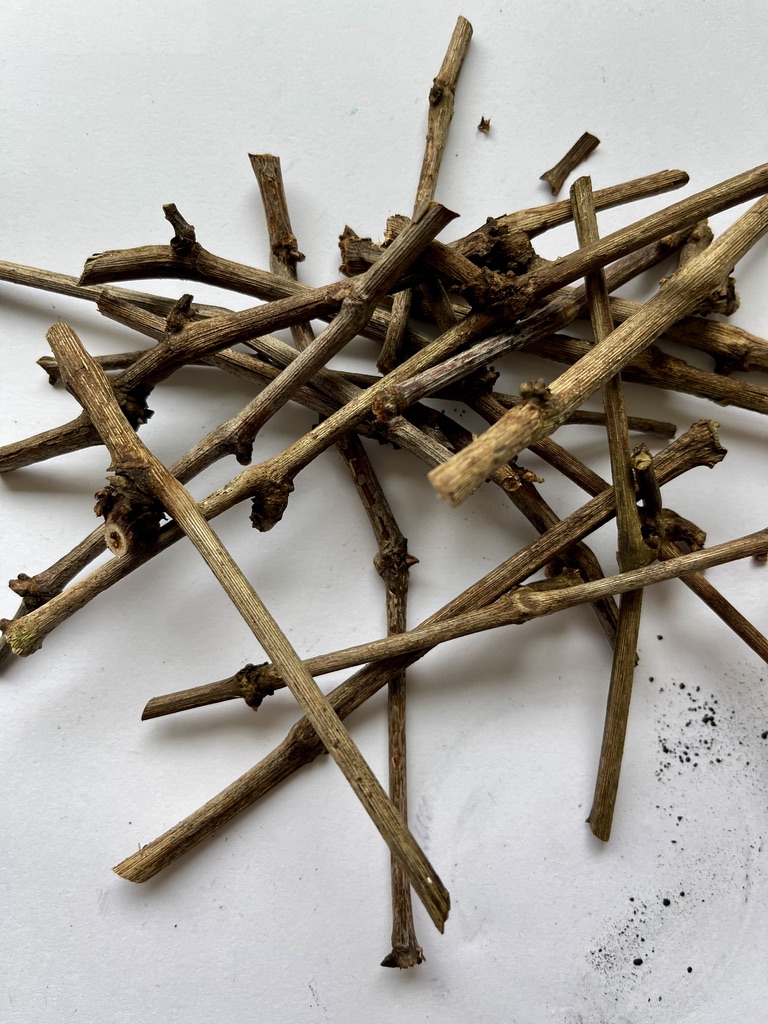
Young shoots of the vine from our own garden.
This time I want to talk about vine black.(Nigrum optimum ex carbone vitis). Vine black comes from charred vines, i.e. an organic pigment, from pure carbon. It has been used since ancient times and produces a cold black with bluish undertones. This blue-grey becomes very visible when mixed with white. It is a very lightfast, slow-drying colour with medium tinting strength. Vine black was already known in prehistoric times and was also widely used by medieval and Renaissance artists. The term vine black can refer to charcoal from woody material from vines, but has historically also been applied to charred material from sources other than vines. Those buying vines black now are best able to buy a mixture of various charcoal types.
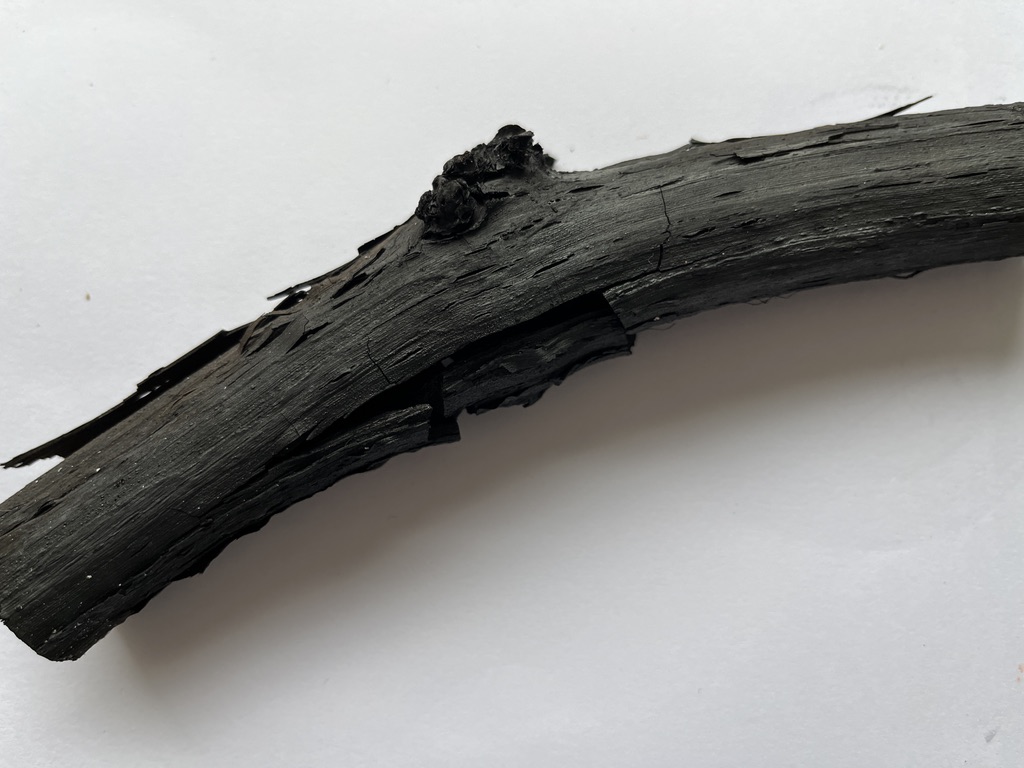
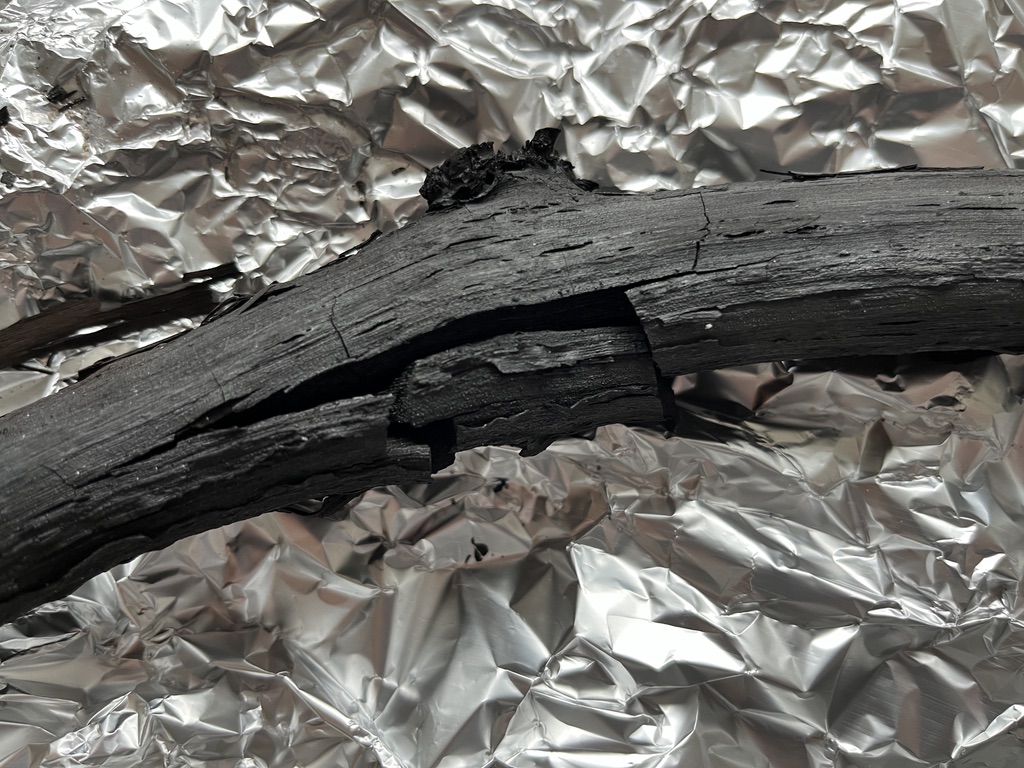
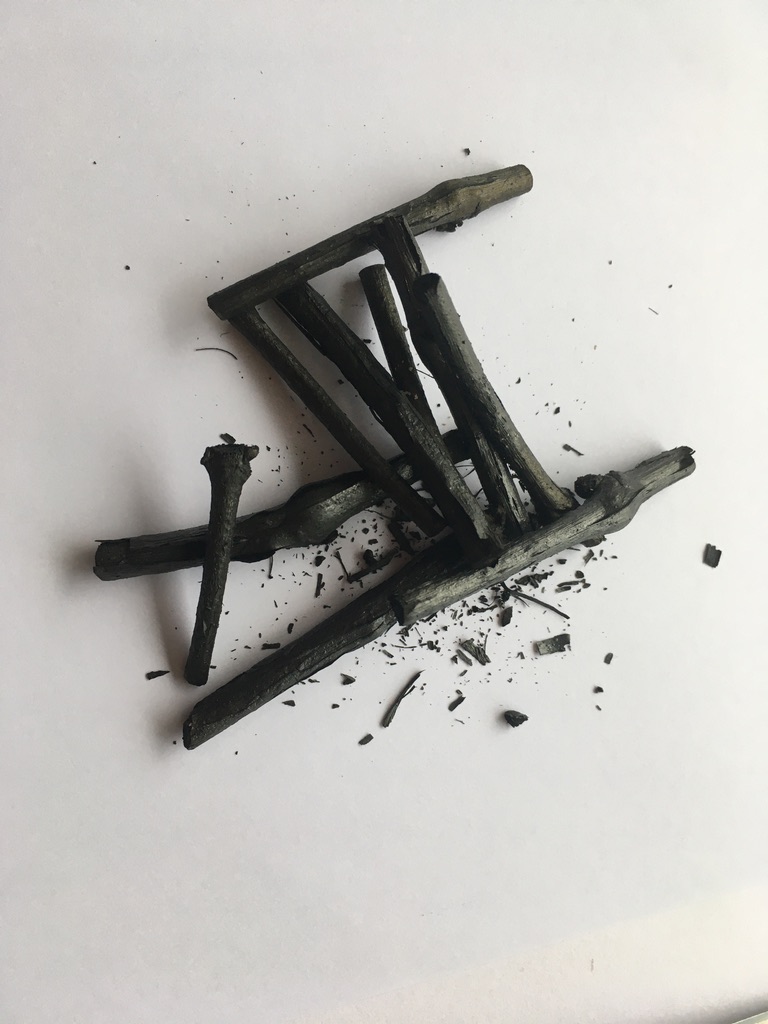
Completely charred piece of stem from our removed vine.
The reason I start discussing vine black is that one of the two grape-vines in our garden gave up. First the leaves discoloured and in the next year no more delicious grapes. Too bad for us and for the birds. We didn’t make wine from the grapes but we did make delicious grape juice, at least when a swarm of sparrows didn’t come along and eat the whole of our grapes in a mere few minutes. But now the vine really had to get out of the garden and that is quite a job. During that work, it occurred to me that in memory of our grape I could also make a nice, historic black pigment from the branches. I picked out some thin twigs and some short thick pieces of vine and dried them for a while. It starts with charring the branches and that is a precise job because before you know it, the branches are burnt and turned to ash. When wood is heated under exclusion of air, it carbonises to charcoal. Most of the wood then does not burn and the volatile components evaporate. Virtually pure carbon is produced and the advantage of charcoal over wood is that one can fire at higher temperatures. Charcoal was then used, for example, for iron production requiring a temperature of 1200 degrees Celsius, as well as in the production of glass and ceramics.
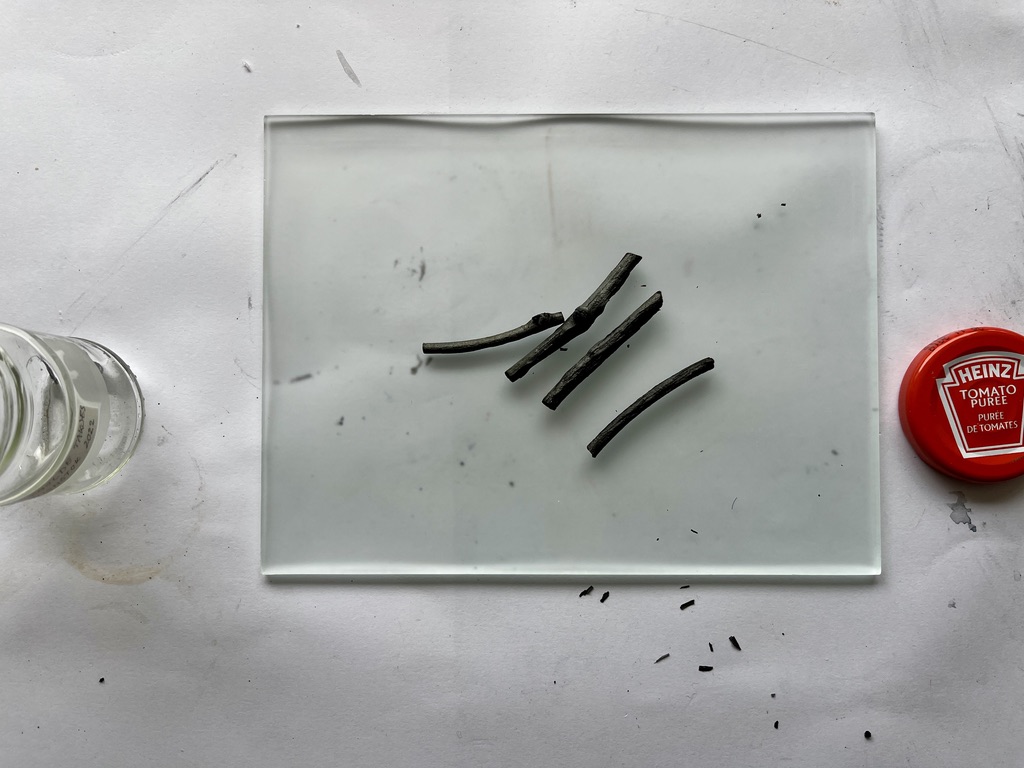
The best are one-year-old branches that are still little wooded. These are the shoots that are systematically pruned from the vines every year; they are used to prepare the black pigment. As early as the 14th century, the Liber diversarum arcium of Montpellier mentions charred vines (Vitis) or willows (Salix) as favourite raw materials for the black paint of illuminators. We also find recipes in the Arte Illuminandi and in the work of Cennino Cennini: ‘Il Libro Dell ‘Arte.
“Another black is made from the tendrils or young shoots of the vine, which must be burnt, thrown into water after burning and quenched and then ground like other black pigments. It is a colour that is both black and meagre; and it is one of the perfect colours we use and it is the best” Page 76.
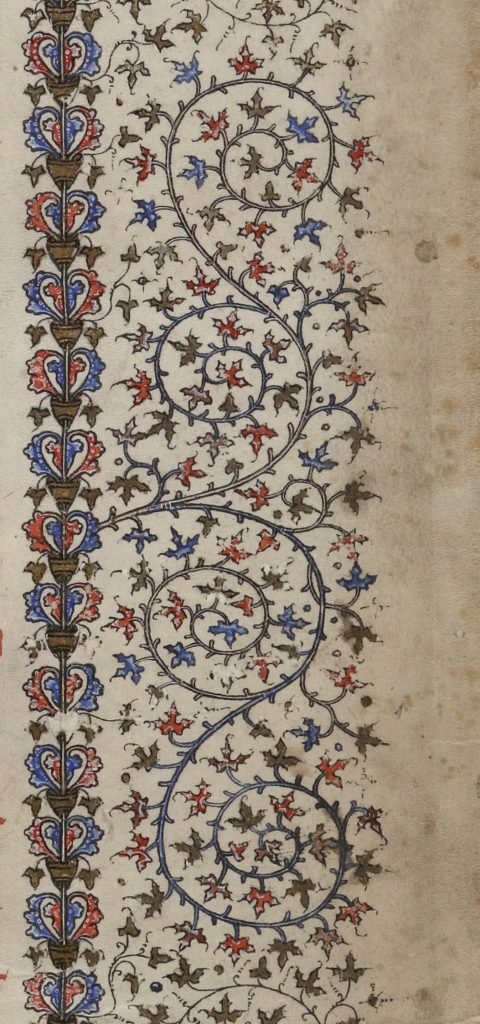
If charcoal has been burnt at a sufficiently high temperature, there is no doubt about its durability as a pigment in all media. However, if it is not charred properly, it may turn grey after long exposure to light. This change is due to the oxidation of the volatile components, brown substances that are intermediate in composition between the original plant material and carbon.
Because charcoal gives off black and then binds to the surface, it also lends itself to artistic purposes such as drawing. This charcoal was referred to in earlier sources as nigrum optimum, ‘the best black’. Later sources also recommended charred willow wood. Drawing sticks made from charred twigs of vine or willow were therefore part of the average toolbox of fifteenth-century artists, and perfect tools for drawing and underdrawing. Keep good memories myself of my academy days where we drew abundantly with charcoal. It is a wonderful drawing material at least when it is well charred and has no hard pits left. The best available then were charcoal sticks made of willow.
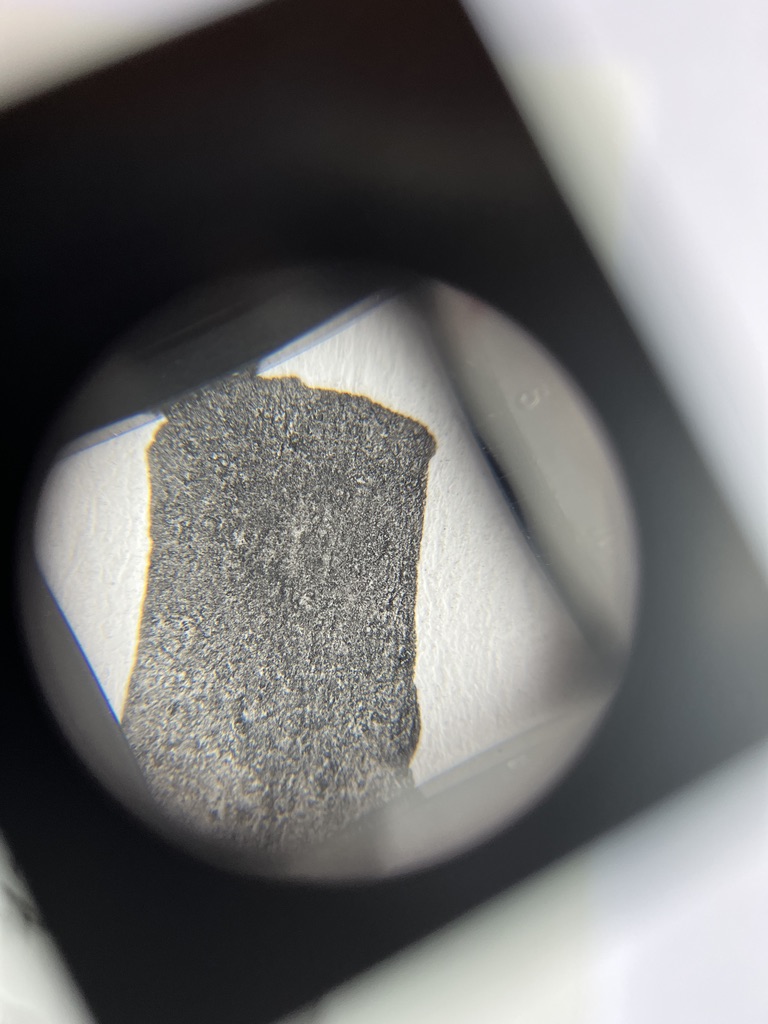
I myself have noticed why people take precisely the young not yet hard shoots of the vine for the charring process instead of the thicker twigs or the trunk. There is a significant difference between the charcoal from these thin twigs and, for example, that made from the stem. The young shoots give a very fine carbon that is much easier to process on the stone. I will come back to this when explaining the process.
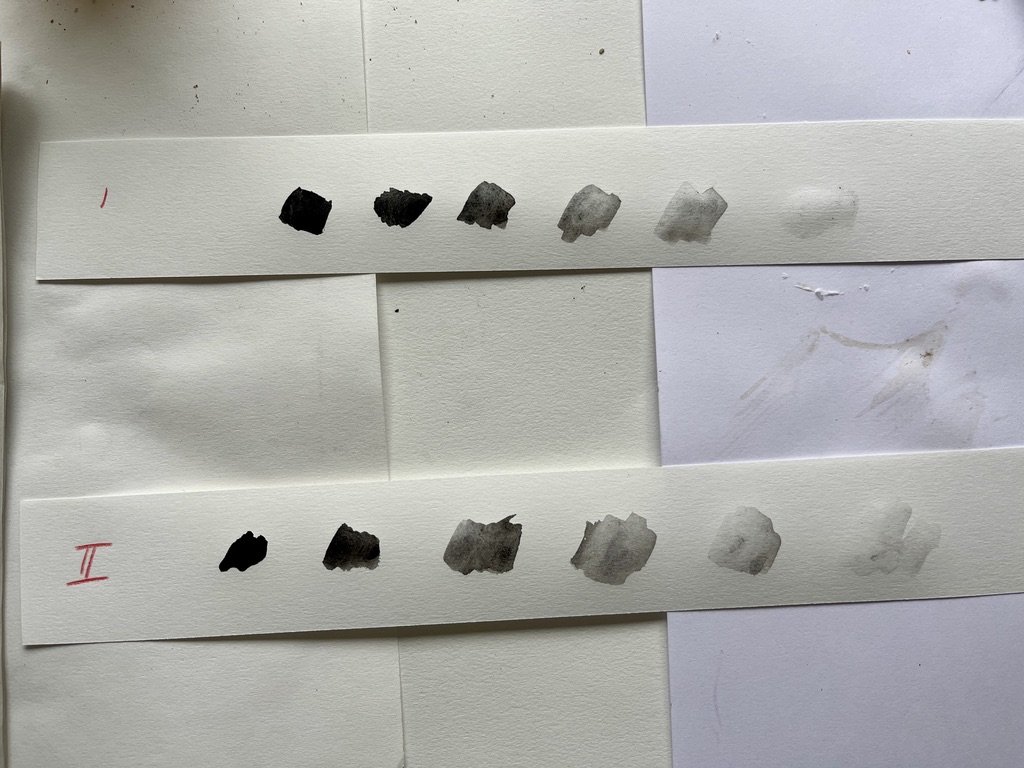
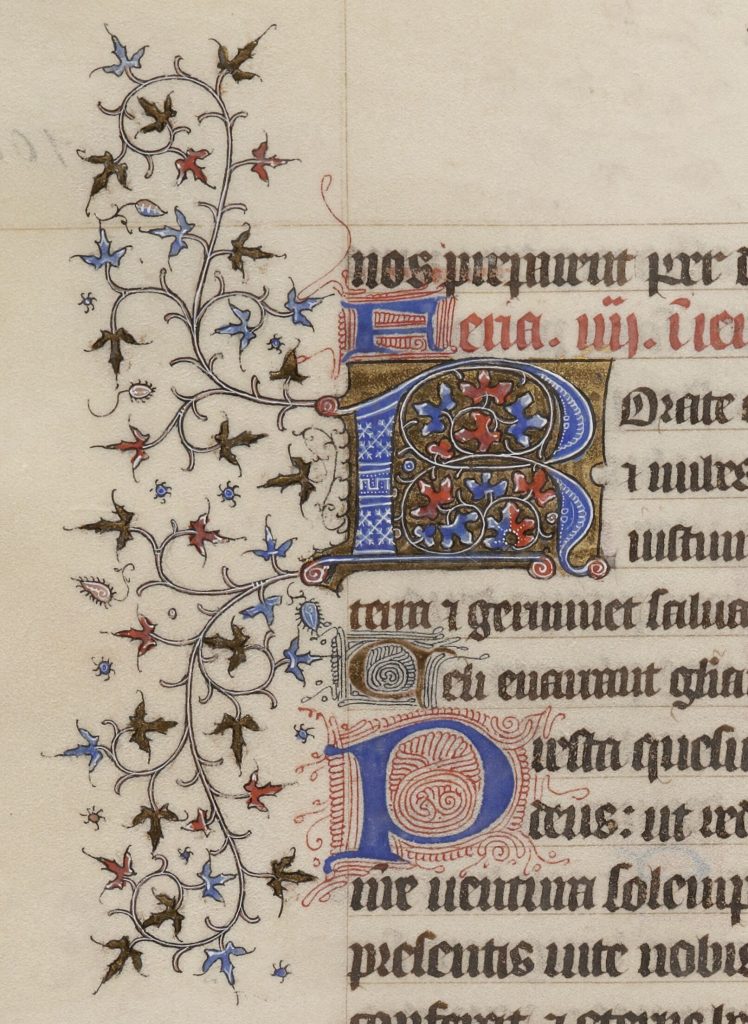
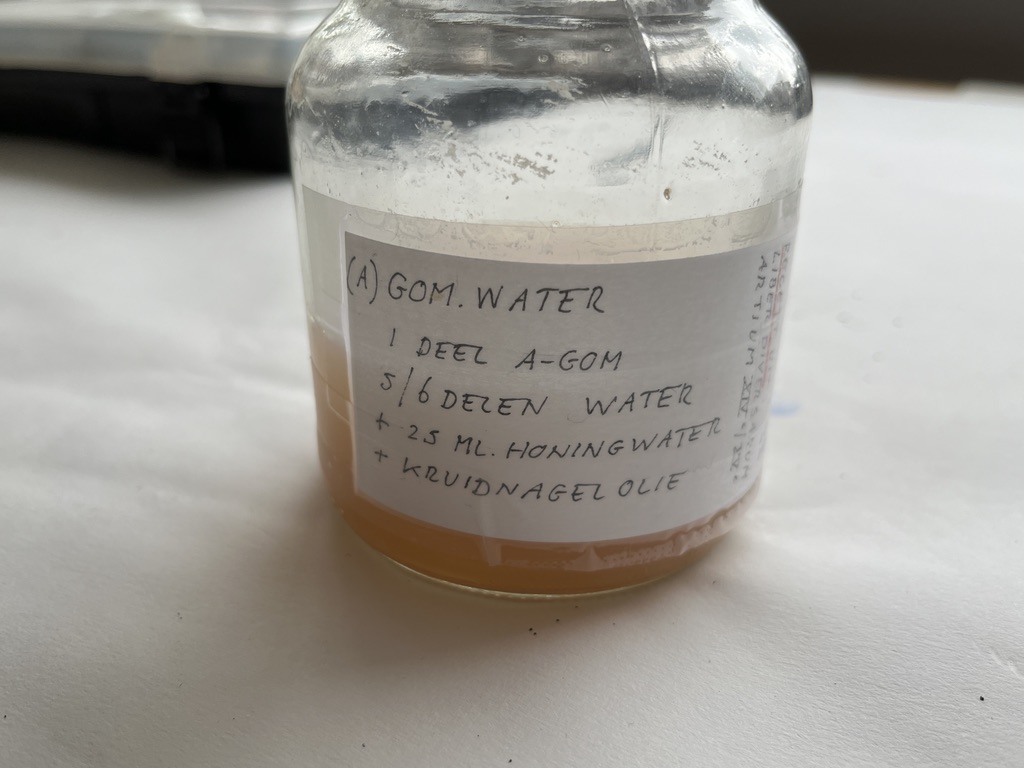
The binder also does matter I have noticed in the trials. As standard, I use a mix of gum arabic and clarified egg white with some honey. In the first test with the thick branch of charcoal, the paint layer still appeared to give off slightly. In the second trial, I used gum Arabic solution with honey and that worked very well.
Potential reasons:
Was the carbon not ground fine enough?
What the binder did not disperse properly?
Working method
For the two trials, I used thin twigs from our healthy vine and, in addition, twigs and a piece of the thick trunk of the vine removed from the garden. Below is a description with pictures. I will use the paint I made for making a grisaille painting.
Cennino Cennini writes that you should throw the young branches into the fire, they should be burnt and then doused with water. If you follow this description to the letter much of the branches will just burn I think. How many branches should be used to have some left? When to stop, how hot should the fire be, should it still burn or just glow? The idea is clear but the execution not really.
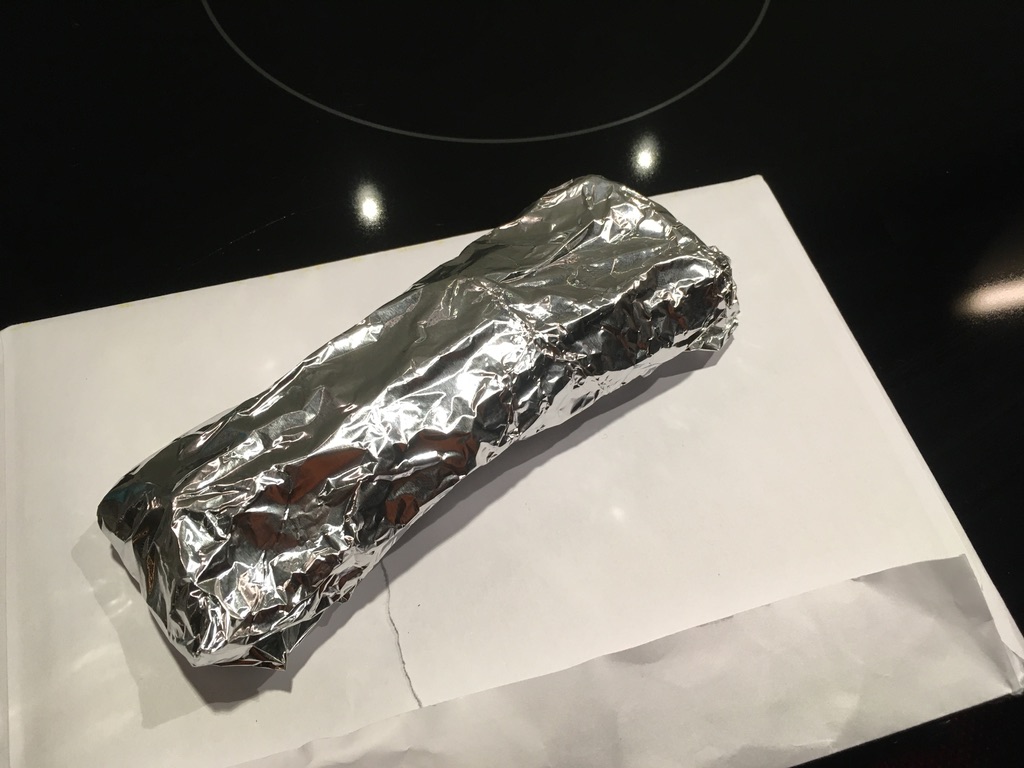
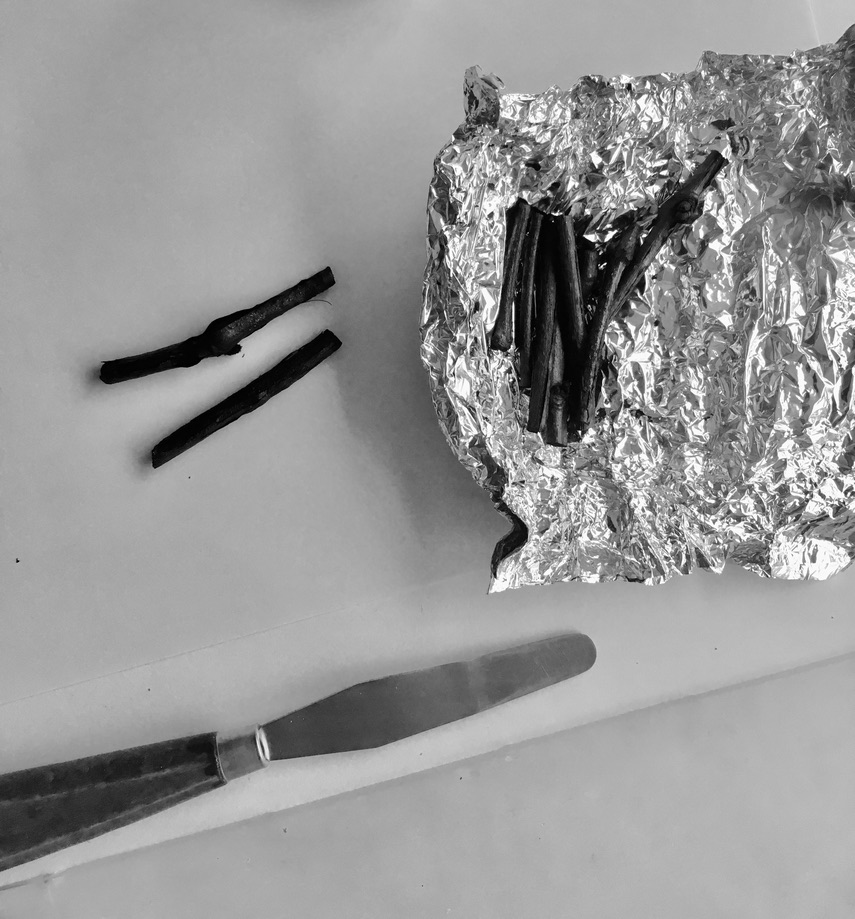
I myself used our wood-burning stove. I carefully but loosely wrapped the twigs in aluminium foil. Not just one layer but several and in such a way that little or no oxygen can get in. This is very important otherwise the twigs will burn and that happened to me the first time I tried it. When the wood stove burned out in the evening, I put the bundles in the glowing ashes. Not in the fire otherwise they would burn anyway I found out. The next morning I had perfect charcoal sticks made from young vineyard shoots. Nice soft material that pulverises well.
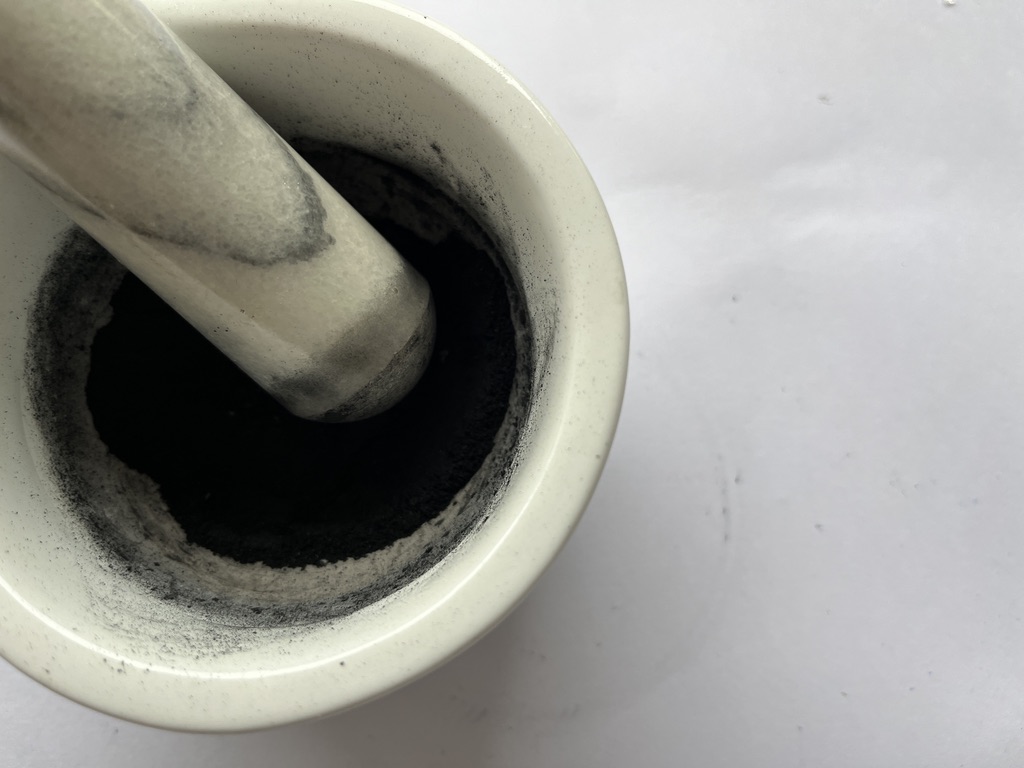
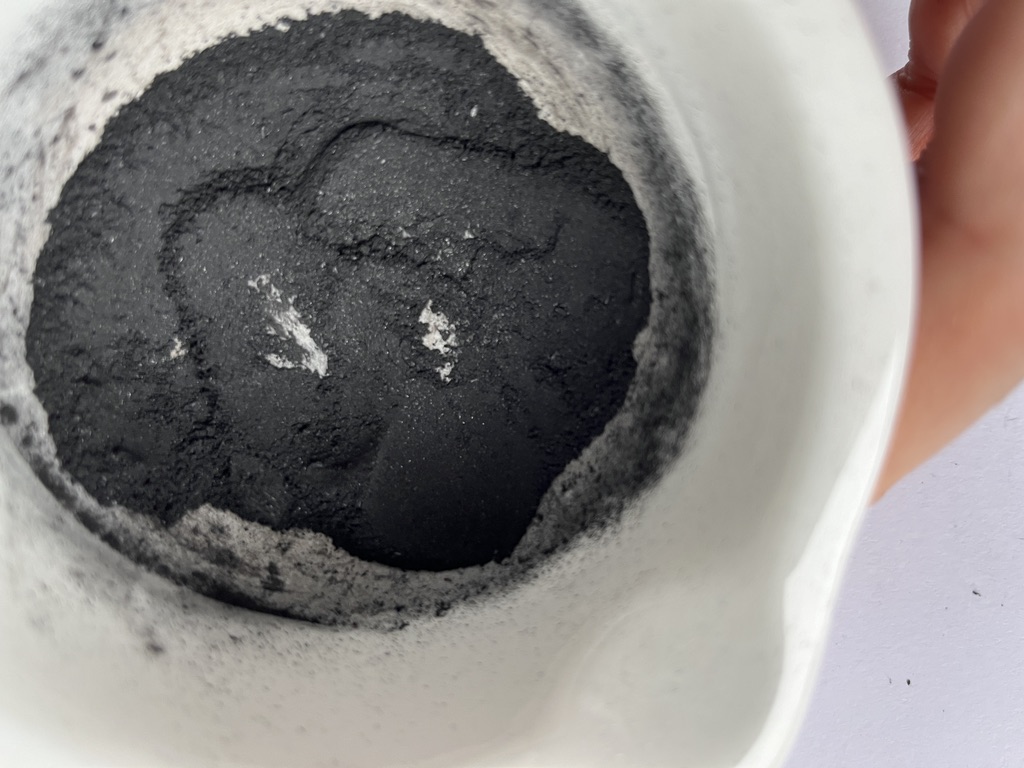
Next, we crush the twigs in a mortar and then on the plate. Pulverising well is important but actually, when charred properly, the material is very soft.
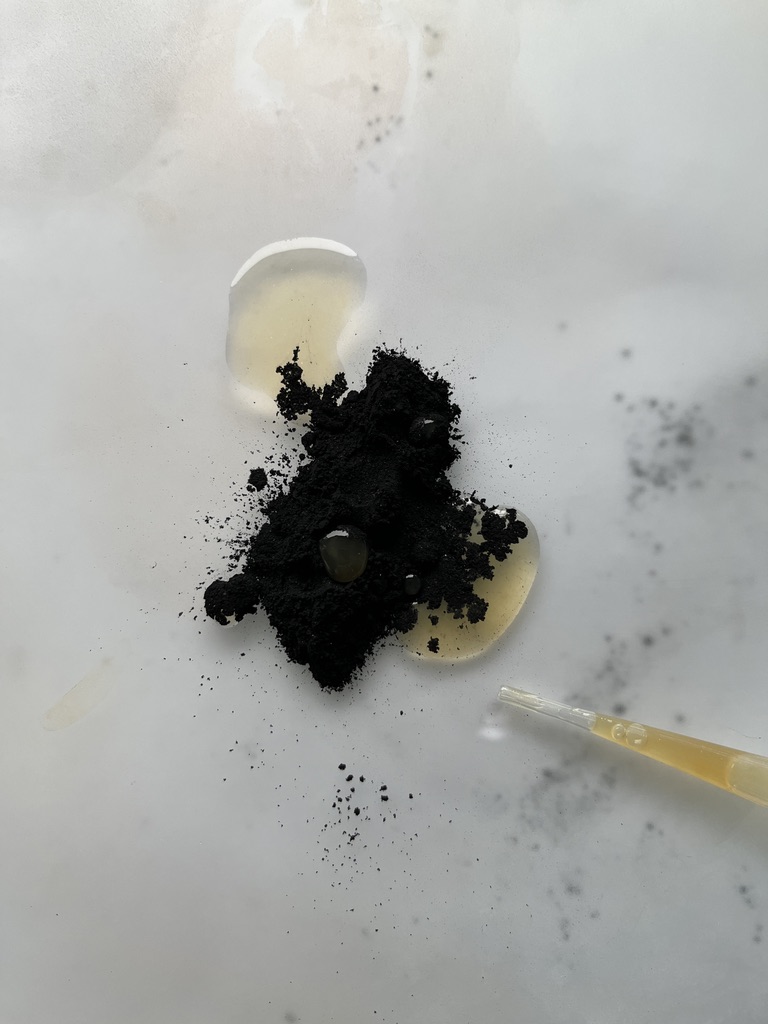
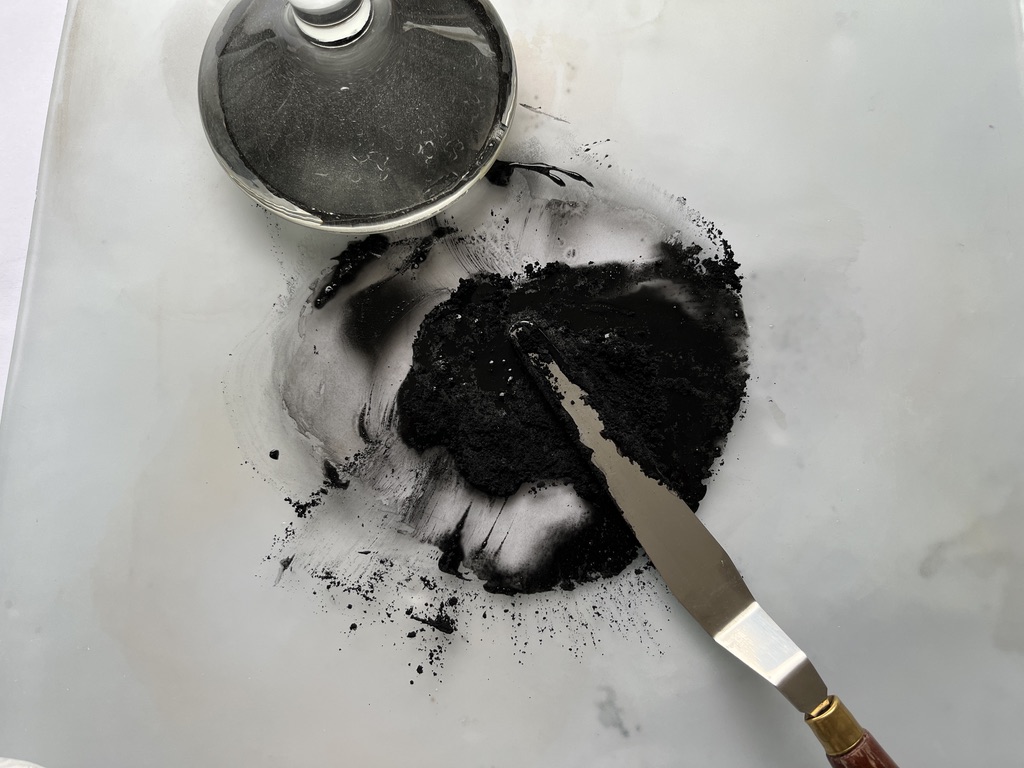
Then we start adding a binder and here we have to be careful. First of all, it is sometimes difficult to do this, the binder does not want to spread very well in the carbon mass. A few drops of alcohol do wonders or (Ox gall).About the binder itself, I prefer gum arabic with a little honey.
Always make a few trials. Make a progression from thin to very watery, mix it once with some white to grey etc. After drying, check if it adheres well all together.
Making a carbon black is actually not difficult and is very satisfying when you make your own paint from a simple natural material.
Hieronder een beschrijving om zelf wijnranken zwart te maken..
Below is a description to make your own vine black
1.
Wrap the young sprigs in aluminium foil and then place them in the almost extinguished fire.
2.
Leave it overnight in the quenching fireplace and very carefully open the foil the next morning.
3.
Put the sprigs in a mortar and pound the sprigs completely to powder.
4.
Apply the powder to the stone or glass plate and add binder.
.
5.
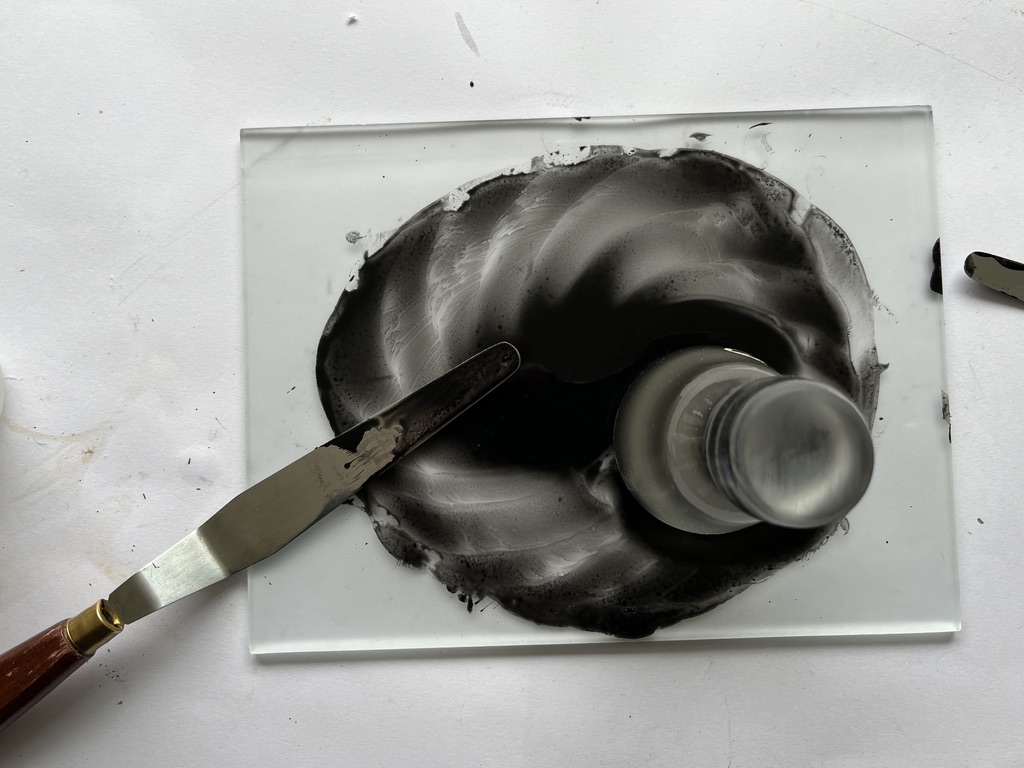
Now go to work with a glass muller to work the binder completely through the mass.
6.
Now put the paint into shells and let them dry. We can later re-moisten the dried paint with water and then just paint.
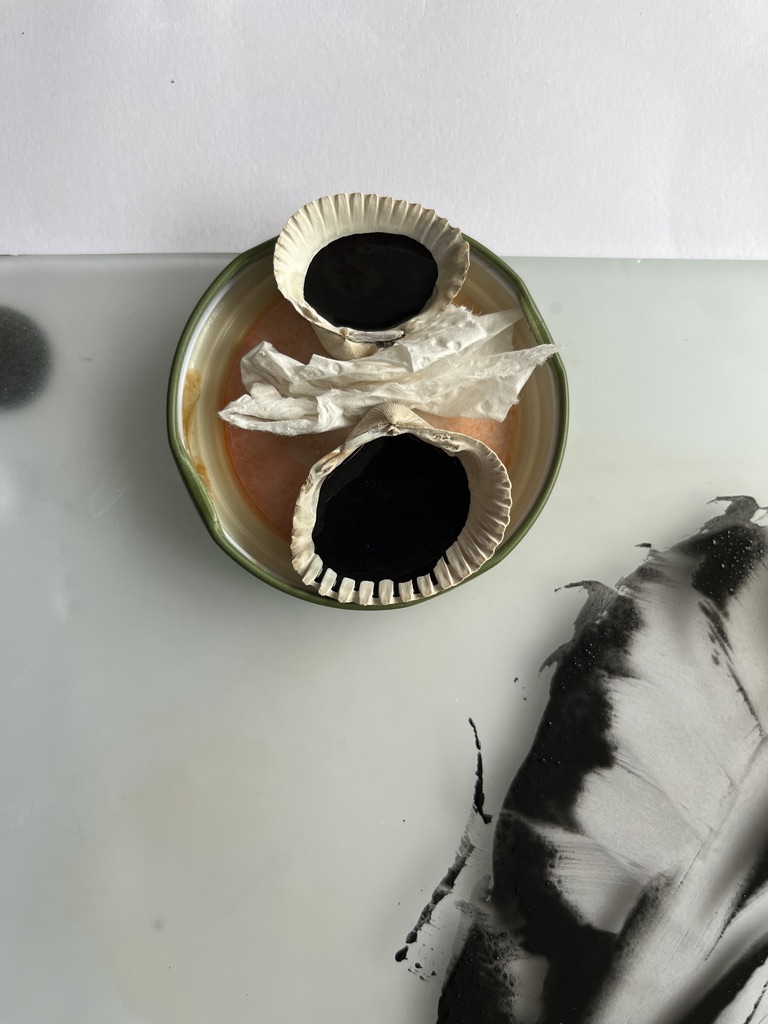
7.
Make trials with various thicknesses of paint. If necessary, use some more binder.
